

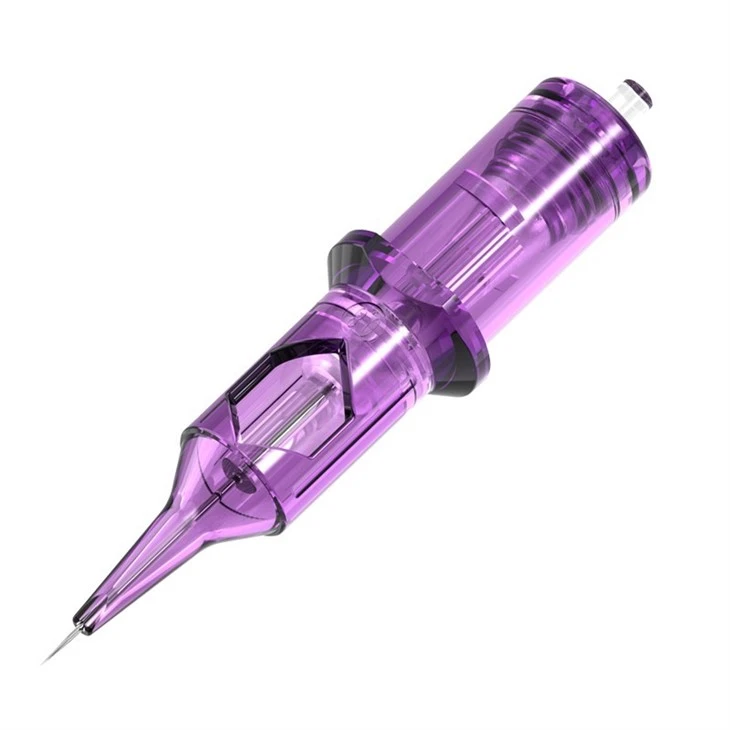
Maintaining the cleanliness of tattoo needle cartridges is crucial for both the safety of clients and the longevity of the equipment. As a supplier of high - quality tattoo needle cartridges, including Permanent Makeup Tattoo Needle Cartridges, OEM Tattoo Needle Cartridges, and Disposable Tattoo Needle Cartridges, I understand the importance of proper cleaning procedures. In this blog, I'll share some in - depth knowledge on how to clean tattoo needle cartridges effectively.
Why Cleaning Tattoo Needle Cartridges is Essential
Before diving into the cleaning process, it's important to understand why cleaning is so vital. Tattoo needle cartridges come into direct contact with a client's skin and are exposed to blood, ink, and other bodily fluids. If not cleaned properly, these contaminants can lead to serious health risks, such as infections, cross - contamination between clients, and the spread of blood - borne diseases like hepatitis B, hepatitis C, and HIV.
Moreover, regular and proper cleaning can extend the lifespan of the needle cartridges. This not only saves money in the long run but also ensures that the cartridges perform at their best, providing a consistent and high - quality tattooing experience.
Pre - Cleaning Precautions
Before starting the cleaning process, it's essential to take some precautions to protect yourself and others.
- Wear Personal Protective Equipment (PPE): Put on disposable gloves, a face mask, and safety goggles to prevent any contact with potentially infectious materials.
- Work in a Well - Ventilated Area: Cleaning agents can produce fumes that may be harmful if inhaled. A well - ventilated workspace helps to disperse these fumes.
- Prepare a Cleaning Station: Set up a dedicated area with all the necessary cleaning supplies, such as a cleaning solution, brushes, and a container for soaking.
Step - by - Step Cleaning Process
Step 1: Disassemble the Cartridge
If the tattoo needle cartridge is designed to be disassembled, carefully take it apart. This usually involves separating the needle from the cartridge body. Make sure to handle the needle with extreme care to avoid accidental pricks.
Step 2: Rinse the Cartridge
Rinse the disassembled parts under warm running water to remove any loose ink, blood, or debris. This initial rinse helps to reduce the amount of contaminants before soaking.
Step 3: Soak in a Cleaning Solution
Prepare a suitable cleaning solution according to the manufacturer's instructions. There are various cleaning agents available on the market specifically designed for tattoo equipment. Some common options include enzymatic cleaners, which break down organic matter, and disinfectant solutions.
- Fill a Container: Pour enough cleaning solution into a container to fully submerge the cartridge parts.
- Soak the Parts: Place the disassembled needle cartridge parts into the cleaning solution and let them soak for the recommended time. This can range from 10 to 30 minutes, depending on the type of cleaning solution.
Step 4: Brush the Cartridge
After soaking, use a soft - bristled brush to gently scrub the cartridge parts. Pay special attention to the areas where ink and debris tend to accumulate, such as the needle tip, the inside of the cartridge body, and any crevices. Be careful not to damage the needle or other delicate parts during brushing.

Step 5: Rinse Again
Once brushing is complete, rinse the cartridge parts thoroughly under warm running water to remove any remaining cleaning solution and loosened debris. Make sure all traces of the cleaning agent are removed, as any residue can cause skin irritation during the next tattooing session.
Step 6: Disinfection
After rinsing, the cartridge parts need to be disinfected to kill any remaining bacteria, viruses, or fungi. There are several disinfection methods available:
- Autoclaving: This is the most effective method of disinfection. Place the cleaned and dried cartridge parts in an autoclave, which uses high - pressure steam to sterilize the equipment. Follow the autoclave manufacturer's instructions for the correct temperature, pressure, and time settings.
- Chemical Disinfection: If autoclaving is not an option, chemical disinfectants can be used. Immerse the parts in a chemical disinfectant solution for the recommended time. However, it's important to note that not all chemical disinfectants are effective against all types of pathogens, so choose a product that is approved for use on tattoo equipment.
Step 7: Drying
After disinfection, allow the cartridge parts to dry completely. You can use a clean, lint - free cloth to gently pat them dry or let them air - dry in a clean and dust - free environment. Avoid using a regular towel, as it may leave lint on the parts.
Step 8: Reassembly
Once the parts are dry, carefully reassemble the tattoo needle cartridge. Make sure all parts are properly aligned and securely attached.
Cleaning Disposable Tattoo Needle Cartridges
While most disposable tattoo needle cartridges are designed for single - use only, in some cases, they may need to be disposed of properly rather than cleaned. However, if there is a specific situation where cleaning is necessary (for example, for evaluation or demonstration purposes), the following steps can be followed:
- Check Manufacturer's Instructions: Some disposable cartridges may have specific cleaning instructions. Always follow these guidelines.
- Rinse and Disinfect: Similar to reusable cartridges, rinse the disposable cartridge under warm water and then soak it in a disinfectant solution for a short period. However, keep in mind that disposable cartridges are not designed for long - term use after cleaning.
Maintenance and Storage
After cleaning and disinfecting the tattoo needle cartridges, proper maintenance and storage are crucial.
- Regular Inspections: Periodically inspect the cartridges for any signs of damage, such as bent needles, cracks in the cartridge body, or loose parts. Replace any damaged cartridges immediately.
- Proper Storage: Store the cleaned and disinfected cartridges in a clean, dry, and sealed container. Keep them away from direct sunlight, heat, and moisture to prevent damage and contamination.
Conclusion
Cleaning tattoo needle cartridges is a critical part of the tattooing process. By following the steps outlined in this blog, you can ensure the safety of your clients, protect yourself from potential health risks, and extend the lifespan of your equipment.
As a leading supplier of Permanent Makeup Tattoo Needle Cartridges, OEM Tattoo Needle Cartridges, and Disposable Tattoo Needle Cartridges, we are committed to providing high - quality products and sharing valuable knowledge with our customers. If you have any questions about our products or need further advice on cleaning and maintenance, we encourage you to contact us for more information and to discuss your procurement needs.
References
- "Infection Control in Tattooing and Body Piercing." Centers for Disease Control and Prevention.
- "Tattoo and Body Piercing: Health and Safety Guidelines." World Health Organization.
- Manufacturer's instructions for tattoo needle cartridges and cleaning agents.